

Hello Android Explorers, here we are starting our all new Android Tutorial Series from the scratch. If you follow our all series step by steps then I am pretty sure that you will be able to Design, Develop, Debug, Test and release your android application to the largest market of android.
As first thing first, today we will talk about android studio the official IDE (Integrated Development Environment) for Android Application Development. Google has announced Android Studio as their Official IDE for android development in Google I/O 2013. Later, in 2014 it released for general public after different beta versions of it.
Android Studio has many features which can help us to Develop, Debug, Analyse, AVD (Android Virtual Device), Monitor, Building Application, Signing and Release our Android Application.
For Developing and Analysing an App it provides you very rich interface of editors for files like Java, xml, gradle, style, properties and values files. It makes so easy to work with various types of files under the hood which has important role in Android Development.
For Debugging and Analysing an App it has debugger inside it using which you can traverse your code implementation step by step and detect data crack types of problem so easily.
Using AVD you can see your Application’s Output and UI/UX by running your project into it. It’s same like Android Device with some features like Sound, Orientation, Camera, taking a screenshot, Location, Microphone, Virtual Sensor, Recording Screen etc. It will almost same like your application will run on actual device.
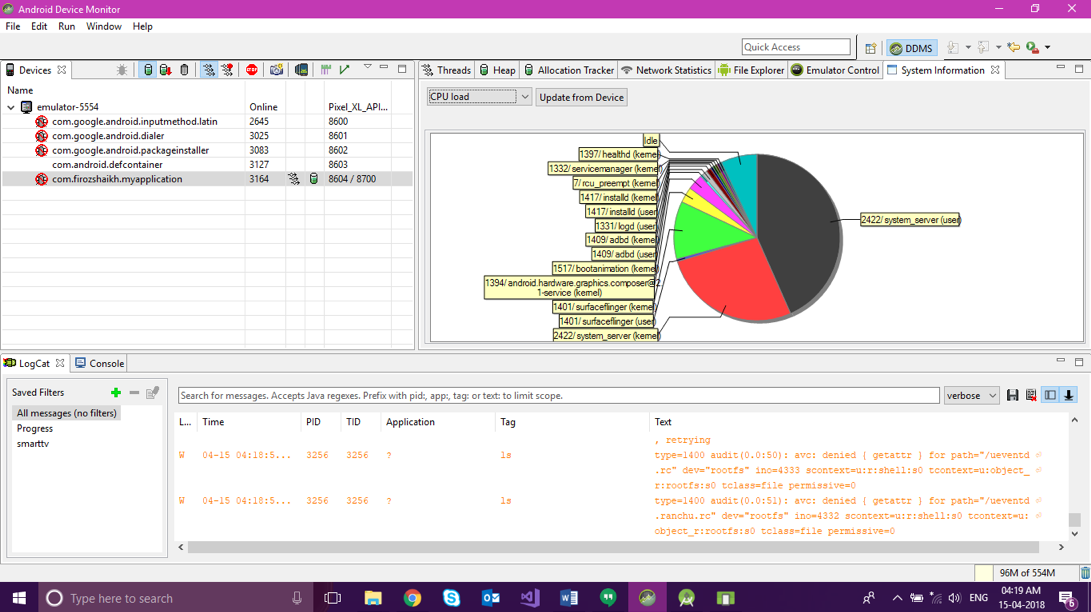
Using monitor you can see your app performance in device with memory management, Heap collection, Network Calls and Threads getting created runtime.
Building Application feature is getting used in Android studio with Gradle Build system. It is a JVM based build system so which script you write in Java, Android studio will make a use of it. It will gather all Source file and resource which we have written and use DEX (Dalvik Executable [convert Java Class file to Dalvik Executable file]) and AAPT (Android Asset Packaging Tool[convert dex and res to create APK]) tools to compile and build Android Application and will make APK (Android Application Package [Executable for Android]).
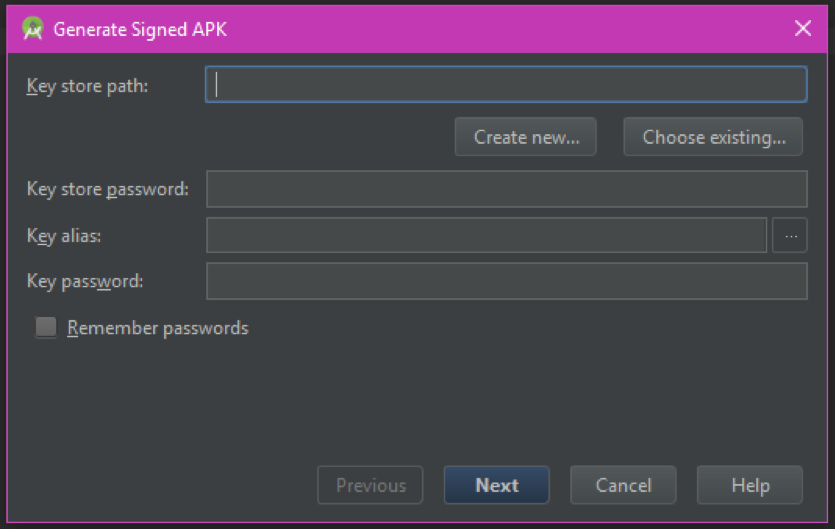
Signing and Release feature help us to Digitally Sign our Application before putting into Android App Store. Which will have unique information about application important configuration and Developer or manufacturer information.
So, You can download Android Studio from Google Android Developer Official Android Studio Page. This will detect your current operating system i.e. Windows, Mac, Linux and shows Download Android Studio button with version number (current is 3.1.1), OS and total file size.
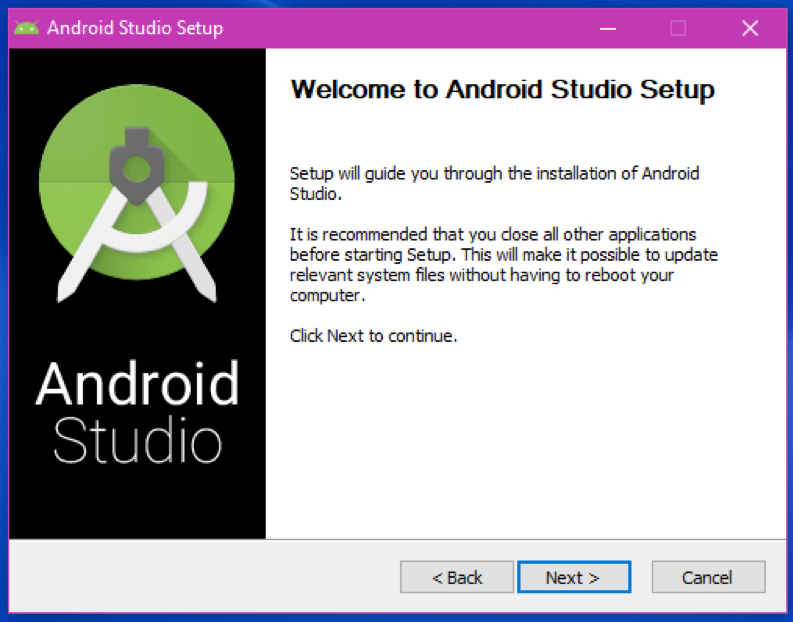
After downloading Installer, you can open the installer and it will start installing an android studio in your machine.
By Clicking on next It will show next window for selecting components to install as below.
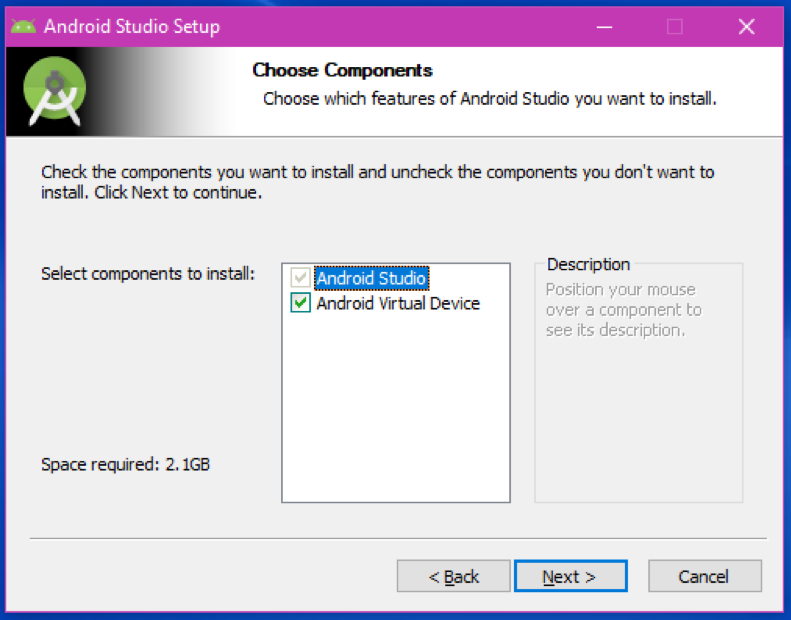
Make sure you have Enough space in installation directory because this will later download Android SDK also which require more space. You can select Android Studio, Android Virtual Device and Android SDK to install.
While installing It will detect for Current latest version of installed JDK (Java Development Kit) path in your machine if you have not installed java in your machine you can install it from Oracle’s official Java installer page as your OS installed in your machine and you can start installing Android Studio. Android Studio Installer will install Android SDK (Software Development Kit) along with IDE.
Android SDK contains require Tools, Platforms, latest Android SDK version Libraries, Android Emulator, Android NDK (Native Development Kit) and Intel HAXM (Hardware Accelerated Execution Manager) to Develop and run your Android Applications. Once you Finish Installation of Android Studio you are all set to start your first Android Application.
Now you can start android development with android studio. Once you start First ever wizard will ask you to perform next action and will look like below.
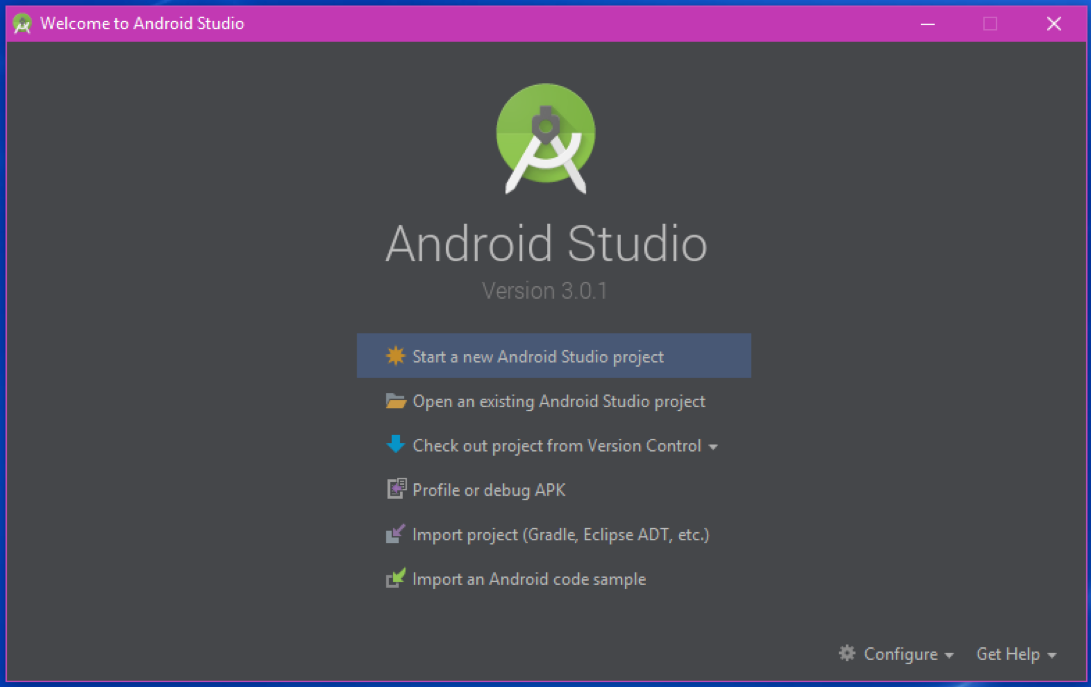
As we can see here it displays few options to start development like below.
Start a new Android Studio Project which will create an Empty & very simple Android Application with Hello World Template.
Open an existing Android Studio Project option will provide a wizard to select any existing Gradle based Android Project available in your system.
Check out Project from version Control will provide a wizard to get your existing Android Studio Project in any VCS (Version Control System) Directory like GitHub, CVS, Git, Google Cloud, Mercurial and Subversion.
Profile or Debug APK will provide you the wizard to select your Android APK (Android Application Package) file to Profile and Debug your already developed or under development Android Application.
Import project (Gradle, Eclipse ADT, etc.) will provide you wizard to select existing android project if you have developed in old building system using Gradle or Eclipse ADT (Android Development Tool) plugin. [By the way Eclipse IDE was being used by android developers to develop android applications in earlier days. Later Google stopped support Android SDT plugin to eclipse to make all Android Developers to migrate from Eclipse to Android Studio. I believe the last stable release was in July 2014 for Eclipse ADT then developers started moving to Android Studio for later android application development.]
Import an Android code Sample will provide you a wizard to open Android Code sample projects like Different Android Views, Widgets, latest platform features, different sensors like camera, location, geofencing etc., security, notifications and many more beautiful samples which you can explore. I suggest you should look at this option once you have basic idea of Android development it will be always good to be updated with latest version code samples.
You can see other two options at bottom right corner like Configure & Get Help. That options are not much required for now but I can say Configure will provide you options for setting your IDE’s different options like SDK manager, import/export settings, plugins, repository settings or checking for update for Android studio IDE. Get Help will provide you options for Android Studio Help, Daily Tips, Keymap Reference and Plugin Development.
So Now we have some enough information about Android Studio, it’s features and its installation process. Now we are very good to start our first android application which I will cover in our next talk about First Android Application.
Happy Coding!!!